
Cyberpunk 2077 Mod Installation Guide
Preliminary Work
- Download and install Gloss Mod Manager
- Download the prerequisite package Cyberpunk 2077 Mod Prerequisite Package
- Install REDMod Steam | Official Website
Selecting the Game
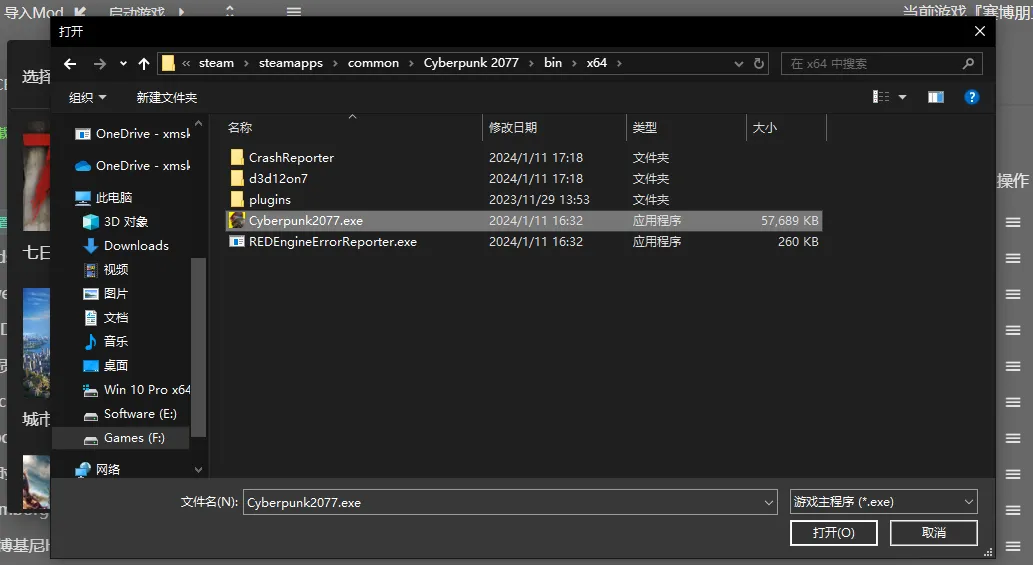
After installing Gloss Mod Manager, start the program, then find Cyberpunk 2077, and select the game's executable:
Either Cyberpunk2077.exe or REDprelauncher.exe can be selected
Installing Prerequisites
Double-click to run "Cyberpunk 2077 Prerequisite Package.gmm", then select all and import. 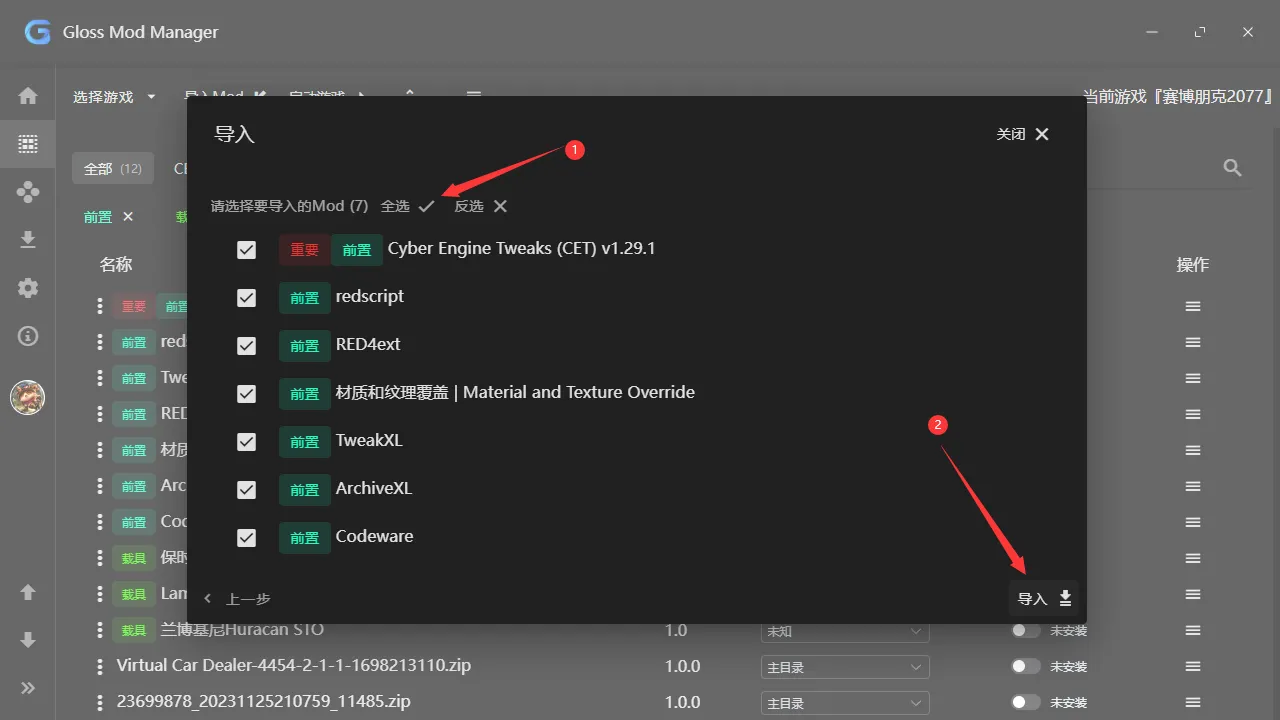
Installing REDMod
If your game is downloaded from Steam, you only need to go to the store to receive this tool, then check it in the DLC. 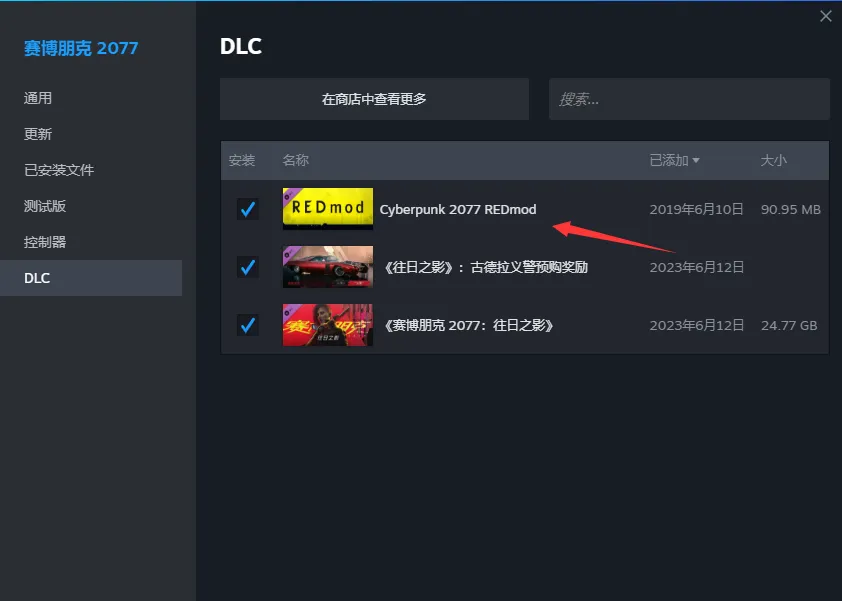
Then, when starting the game, select "Activate Mod". 
Installing Mods
You can download any mods you want from various websites. Here are a few websites for downloading Cyberpunk 2077 Mods:
- 3DM Mods: https://mod.3dmgame.com/Cyberpunk2077
- Nexus Mods: https://www.nexusmods.com/cyberpunk2077/mods/
Then add the downloaded compressed package to the manager for automatic installation and uninstallation. 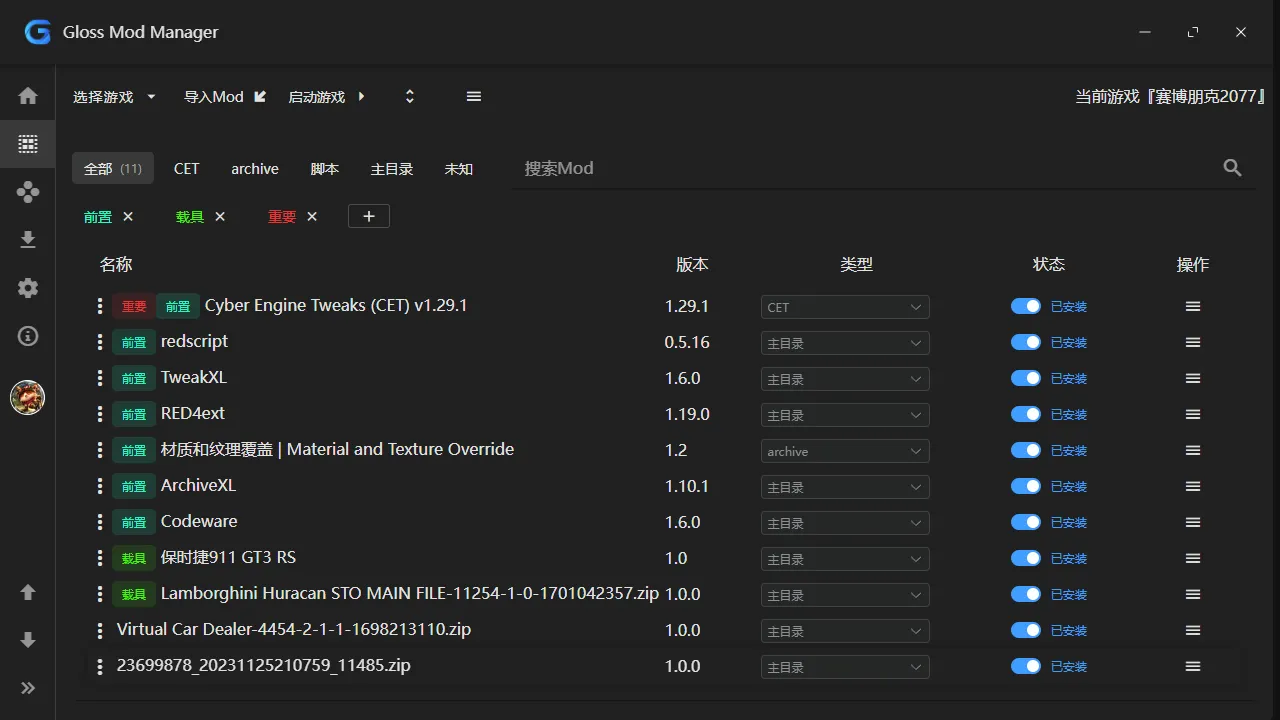
About CET Console
If you are using Mod for the first time, you might see this when you enter the game: 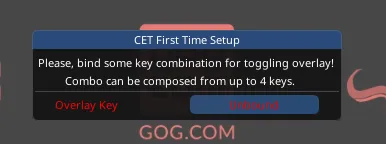
Don't worry, this means CET has been successfully installed. Now CET requires you to set a shortcut key. You can click on the right side of "Unbound", then press any key on your keyboard. (I personally prefer using the ~ key)
After that, you can use ~ to open the console directly.
Most mods (such as clothing, vehicles) will tell you the console code to find their mod items in the game.
You only need to check the mod introduction, copy the code, and paste it (batch paste) into the console to directly get the mod items.